Example: Cartesian pose streaming
This page contains a step by step guide to run the cartesian pose streaming example. The example will:
Set up feedback messages and receiver to obtain the initial pose of the robot
Prepare a GUI that allows the user to interact with the robot by tracking the mouse movement
Set up a UDP sender to send streaming messages to the controller
Interpret the recorded mouse position and publish the respective pose to the controller
To find the example, please visit the RobCo GitLab: Cartesian Streaming Example
1. Setting up
The first step is to connect to the control unit, as explained in the getting started section.
Afterwards, open a browser and open RobFlow via the IP address, as obtained from the previous step. If this is the first connection to the robot, please set a password. Otherwise use the existing credentials to login.
After completing these two steps, you’ve defined:
username: The username used to login to RobFlow
password: The password used to login to RobFlow
robot-ip-robflow: The IP at which the Robot (specifically RobFlow) can be found
robot-ip-robcontrol: The IP at which the Robot (specifically RobControl) can be found, generally identical to robot-ip-robflow
robot-port-robcontrol: The port, at which RobControl expects streaming messages, generally fixed to 28000 (can only be adjusted by RobCo support if necessary)
2. Define receiving endpoint
The example needs to fetch the initial position from the feedback messages. Hence, the next step is to define where the controller should send the feedback messages. Depending on the connection mode chosen in 1. your host will either have a static or dynamic IP assigned for the respective network adapter.
The port at which feedback messages are received is free to chose. There should be no other traffic expected at the given port.
After completing this step, you’ve defined:
host-ip-feedback: The IP of the host that should receive the feedback messages
host-port-feedback: The Port at which the host should receive the feedback messages
3. Define streaming endpoint
The controller will only accept streaming messages from the IP defined in the start_streaming API message. Therefore, the IP of the host that sends the streaming message to the robot needs to be defined to run this example. Similar to the receiving endpoint, this IP depends on the chosen mode of connection. Generally, it will be identical to the host-ip-feedback defined above.
After completing this step, you’ve defined:
host-ip-streaming: The IP of the host that should receive the feedback messages
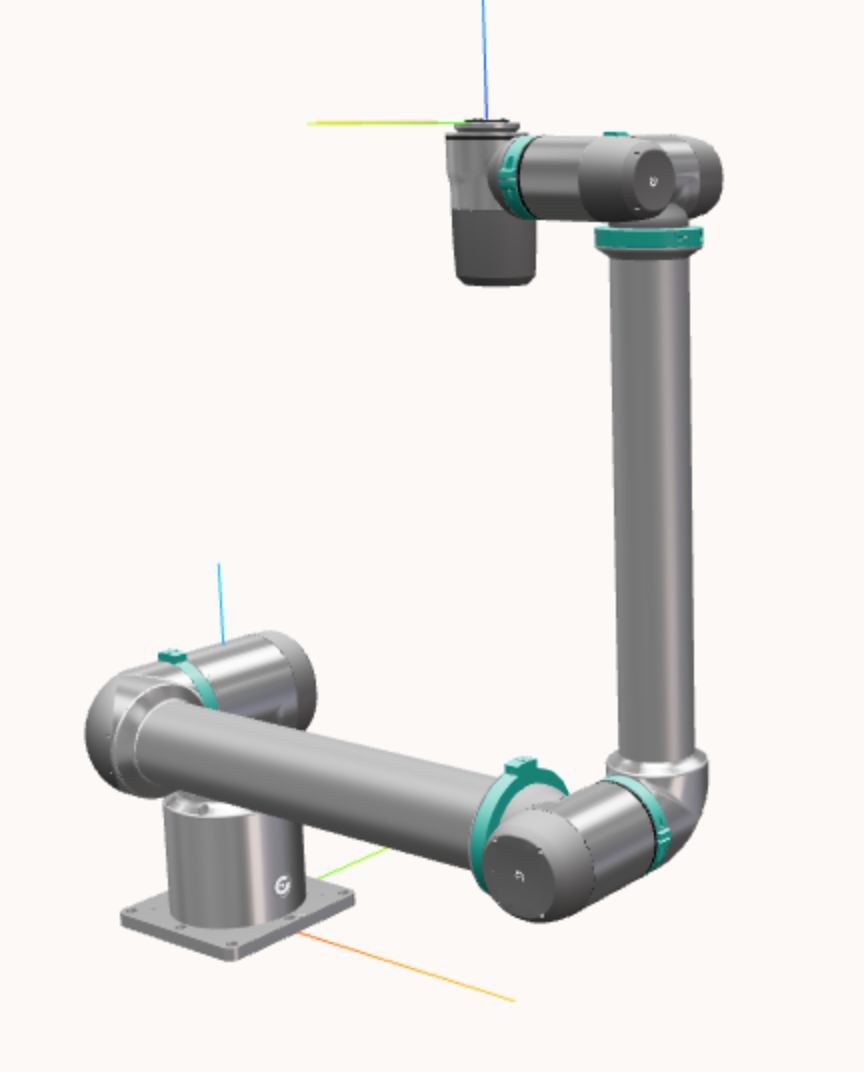
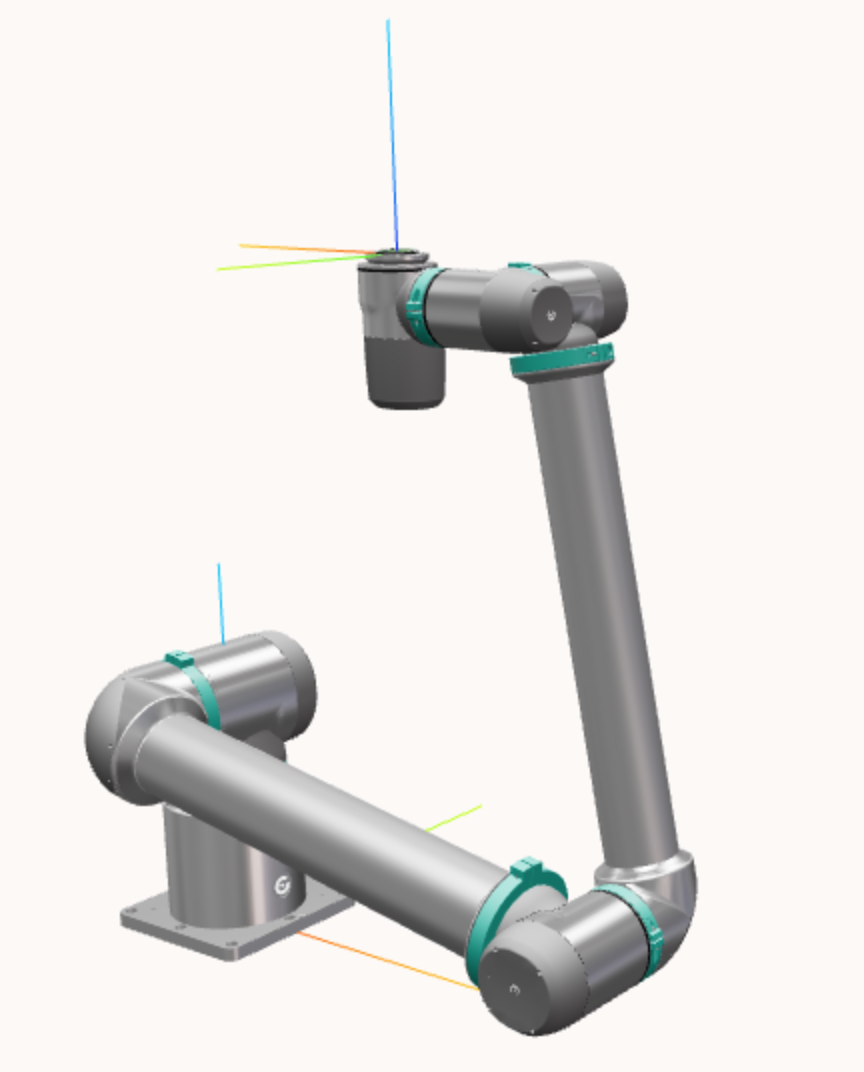
4. Move robot to a suitable position
Before starting the streaming example, make sure to move the robot into a joint pose that does not have any singularities.
Comparison:
5. How to control the robot
When running the example (see next step), a GUI window will pop up which shows a red cross in the center.
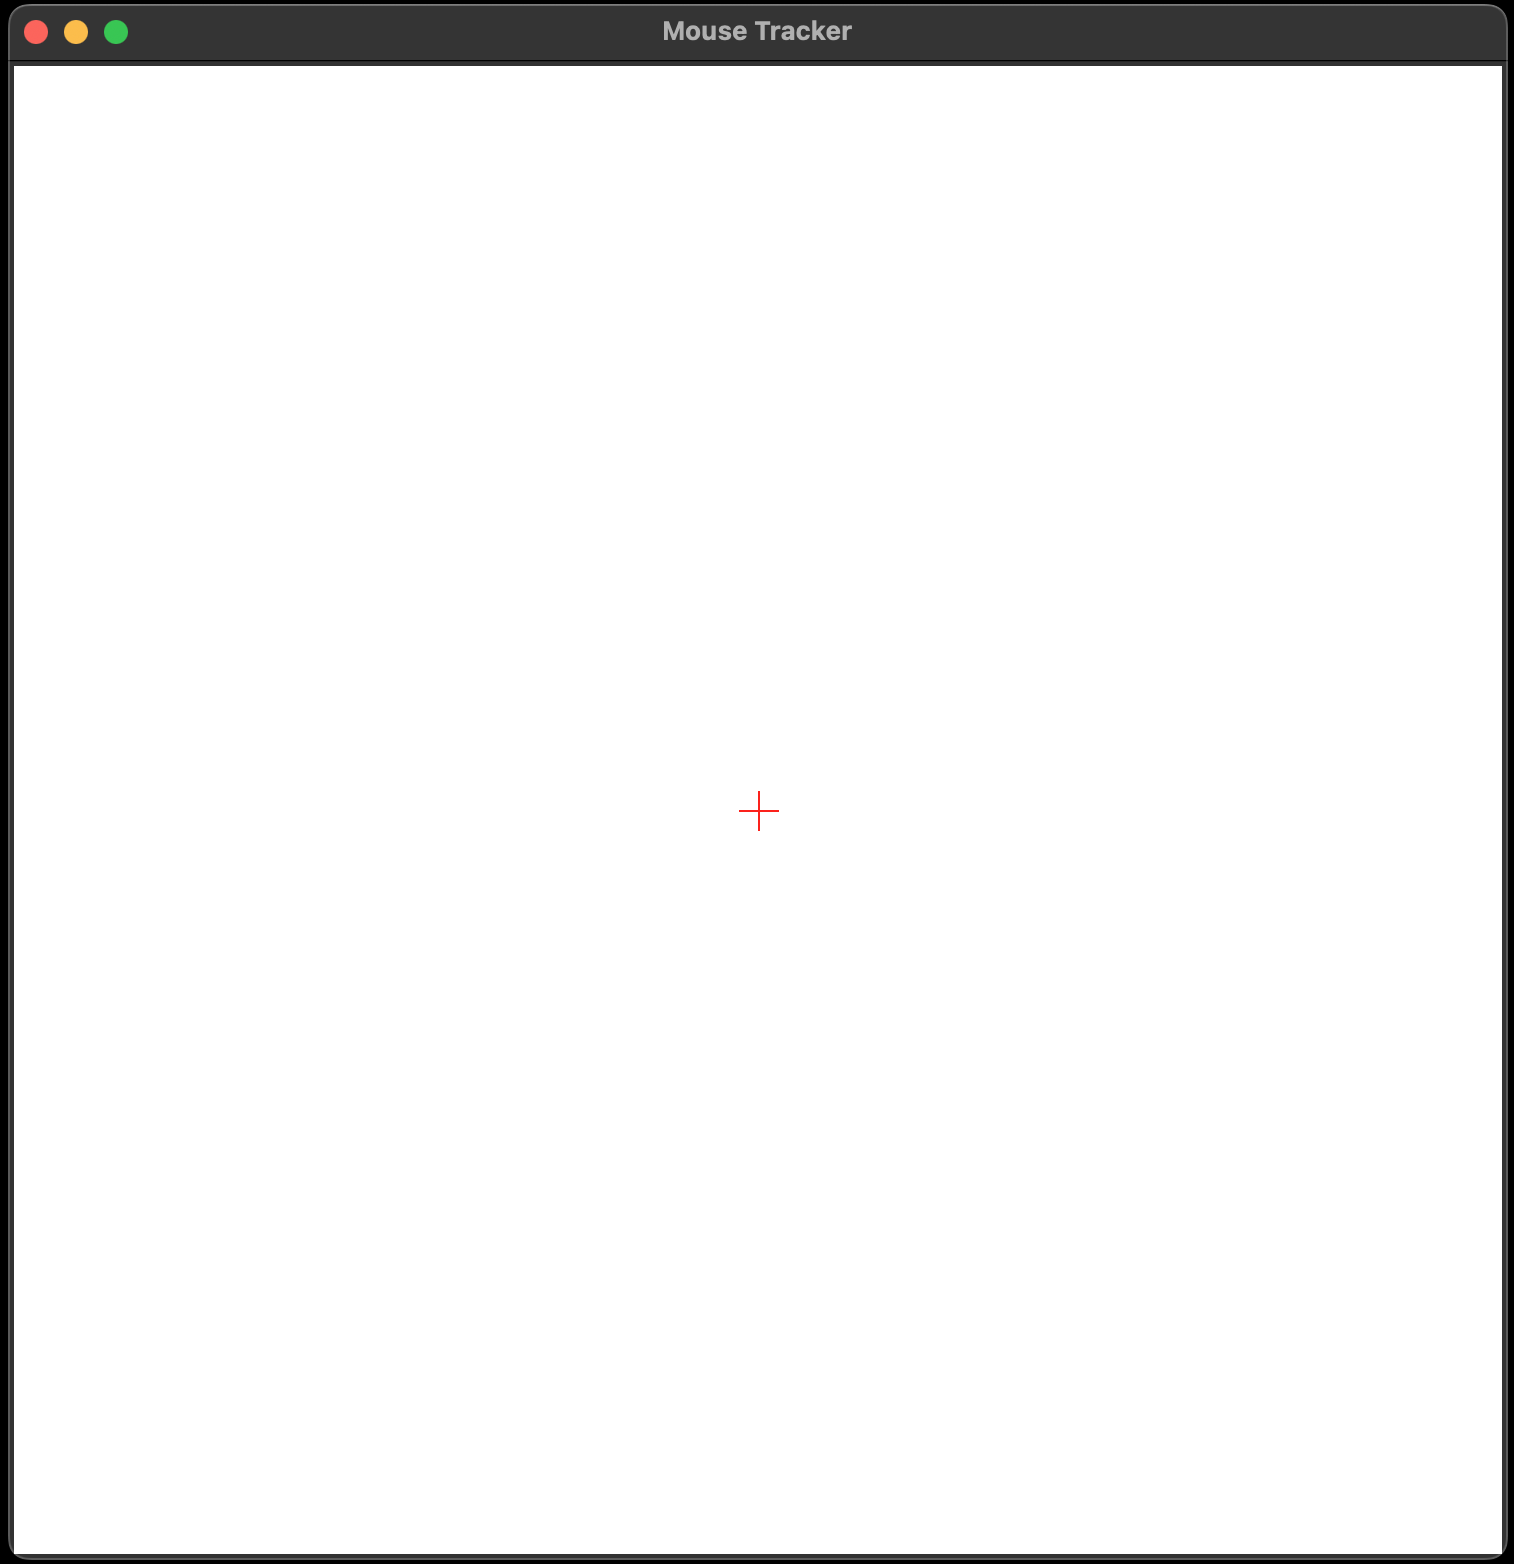
Note
Move your mouse to the center before streaming starts.
Note
On some systems, you might have to click the GUI window for tkinter (the library powering the GUI) to register the initial mouse position correctly.
You may control the robot by:
x/y translation: Move the mouse in the GUI window
z translation: Scroll the mouse wheel up/down
x/y rotation: Hold the right mouse button and moving the mouse in the GUI window
z rotation: Hold the right mouse button and scrolling the mouse wheel up/down
6. Run the example
After completing all steps above, everything is setup to run the example.
Download the RobFlow SDK and install according to the readme.
Before running the example, release the robot’s brakes via RobFlow.
Note
⚠️ For the first tests, we suggest to keep your hand on the emergency stop button to be able to stop the robot immediately in case of unexpected movements
Finally, the example can be run (inserting the respective arguments obtained in the steps above):
python -m streaming.examples.publisher_joint_values \
    --username my_user \
    --password my_password \
    --robot-ip-robflow 192.168.1.1 \
    --robot-port-robflow 80 \
    --host-ip-feedback 192.168.1.99 \
    --host-port-feedback 28001 \
    --robot-ip-robcontrol 192.168.1.1 \
    --robot-port-robcontrol 28000 \
    --host-ip-streaming 192.168.1.99
6. (Optional) Additional settings
In the “Settings” section of the example script, you’ll find several options to adapt the streaming mode for your use case. Please refer to the in-code documentation for information on what these parameters influence.
Worth mentioning are:
T_TRANSITION_STREAM: Pause in second between the user confirmation to start streaming and the first message being sent
VERBOSE: Enables printing debug information to the console
inside the mouse_tracker_6D.py file, you may adjust the size of the window, as well as the magnitude of rotation / translation its scaled to