Graphical Programming
Our user interface provides a way to graphical low-code program robots. It provides a browser-based editor that makes it easy to wire together different robot actions using a range of robot nodes. Robot nodes represent modular building blocks of production process and robot action. The user can drag&drop nodes from the pallet onto the dashboard and wire them together. Each robot node can be further customized in its settings. A sequence of wired nodes is called a flow. Besides the robot nodes, further categories of nodes exists which can be f.e. used to wire together other IoT devices, APIs and online services with the robot. By wiring together different categories of nodes , the robot can dynamically interact with the environment and a robot node can be triggered from another device or system, which can in turn be triggered by the robot.
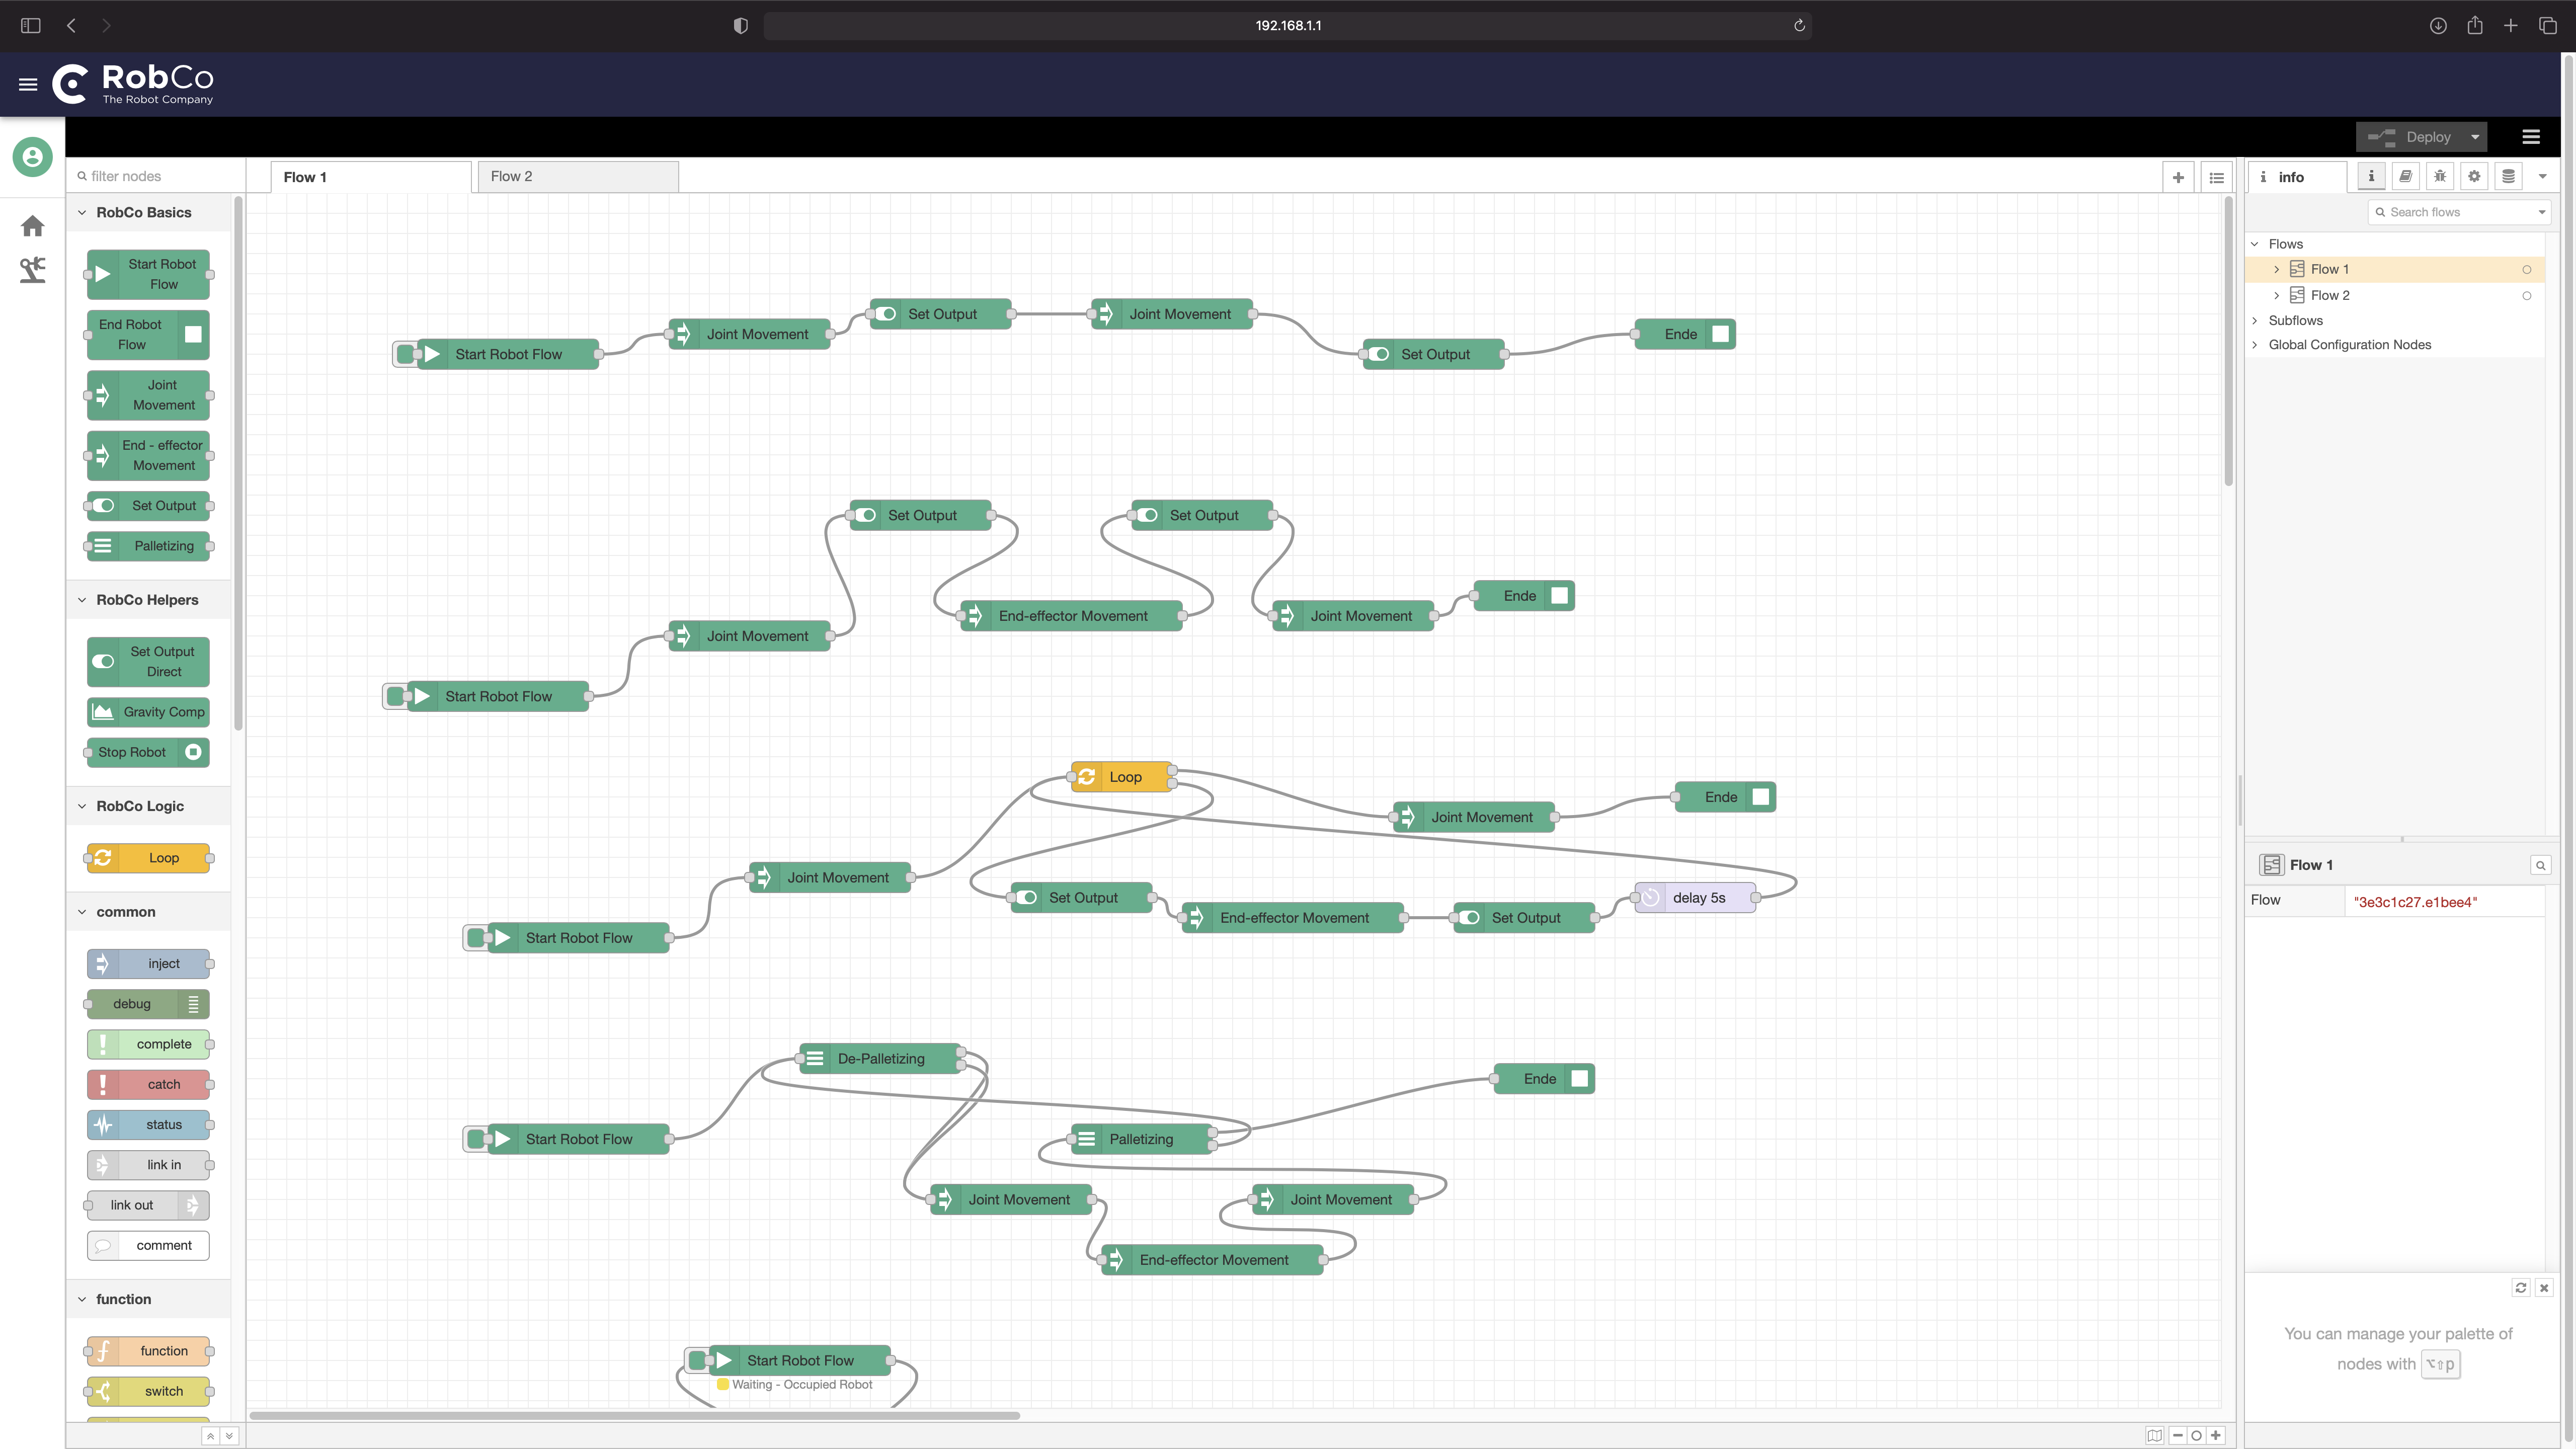
Creation of your first robot program (flow)
- Drag&drop a Start Robot Flow Node from the pallet on the left onto the dashboard.
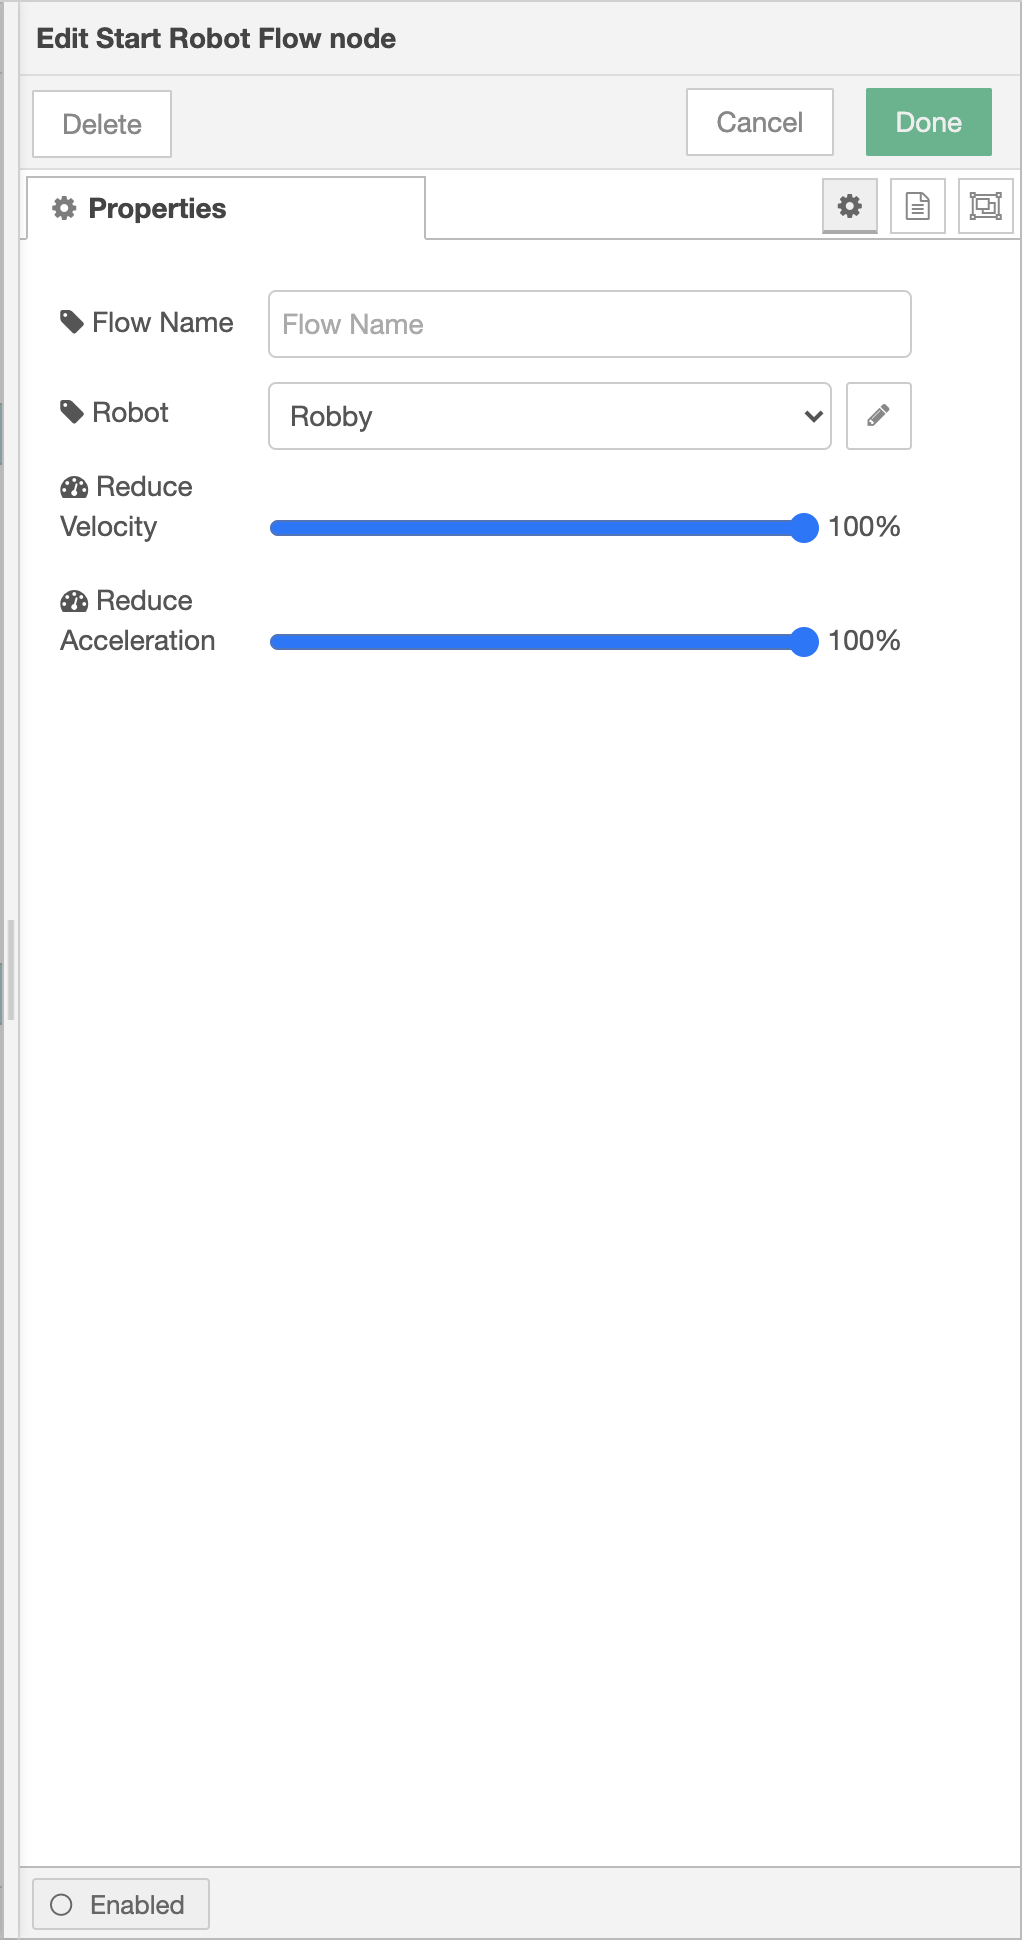
- Select the newly added node by double clicking on it, to see information about its current setting.
- Select the robot you want to use for this flow in the node’s settings.
- Drag&drop a Movement Node from the pallet onto the dashboard.
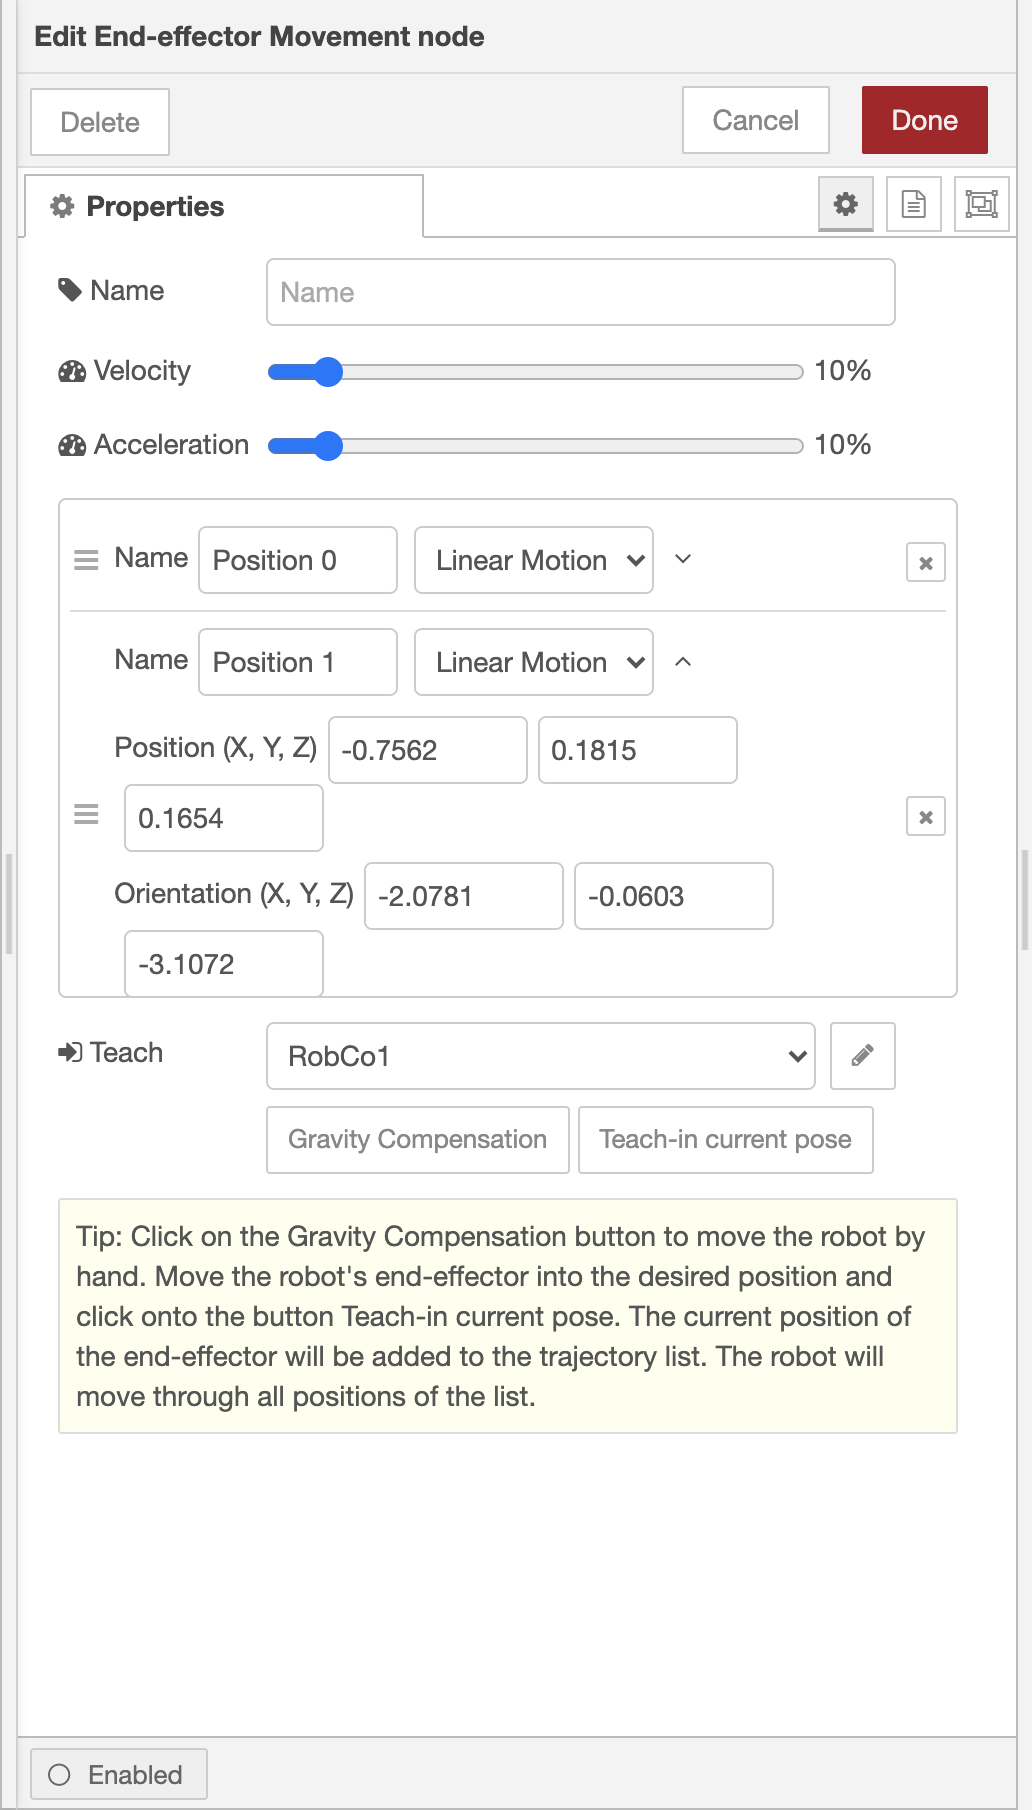
- Double click the newly added node to see information about its current setting. In the settings of the Movement Node you can teach several movements to the robot.
- In the node’s setting click on the button Activate G-Compensation to activate the gravity compensation mode of the robot. Move the robot to the desired position and click on the button Teach-in Joint Angles. The current angles of the robot joints are saved and the current position of the robot is stored in the setting’s positions list. Go ahead and teach in several positions this way.
- Connect the Start Robot Flow Node and Movement node together by dragging between the output port of one to the input port of the other. An input port is always on the left side of a node. An output port is always on the right site.
- Drag&drop a End Robot Flow Node from the pallet onto the dashboard. and wire it to the Movement node.
- At this point, the nodes only exist in the editor and must be saved and deployed to the robot. Click the green button in the upper right corner to save and deploy the flow.
- Click the button on the left of the Start Robot Flow Node. This will trigger the Movement Node to execute the specified movements in its settings.
Robot Nodes
Different kinds of robot nodes exist, which will be explained in the following. The displayed dashboard name of the nodes can be customized in the setting menu of all nodes. Double click a node to open it’s settings menu.
Start Robot Flow Node
The Start Robot Flow Node can trigger a robot flow. In its settings, one can specify the robot which should be used for the following wired robot flow. The node provides a button on the left-hand site which can be pressed after the flow is saved and deployed. This button triggers the nodes, which are wired to the node. If the robot is currently executing another robot task the node will query till the robot has finished all other tasks, which were triggered before.
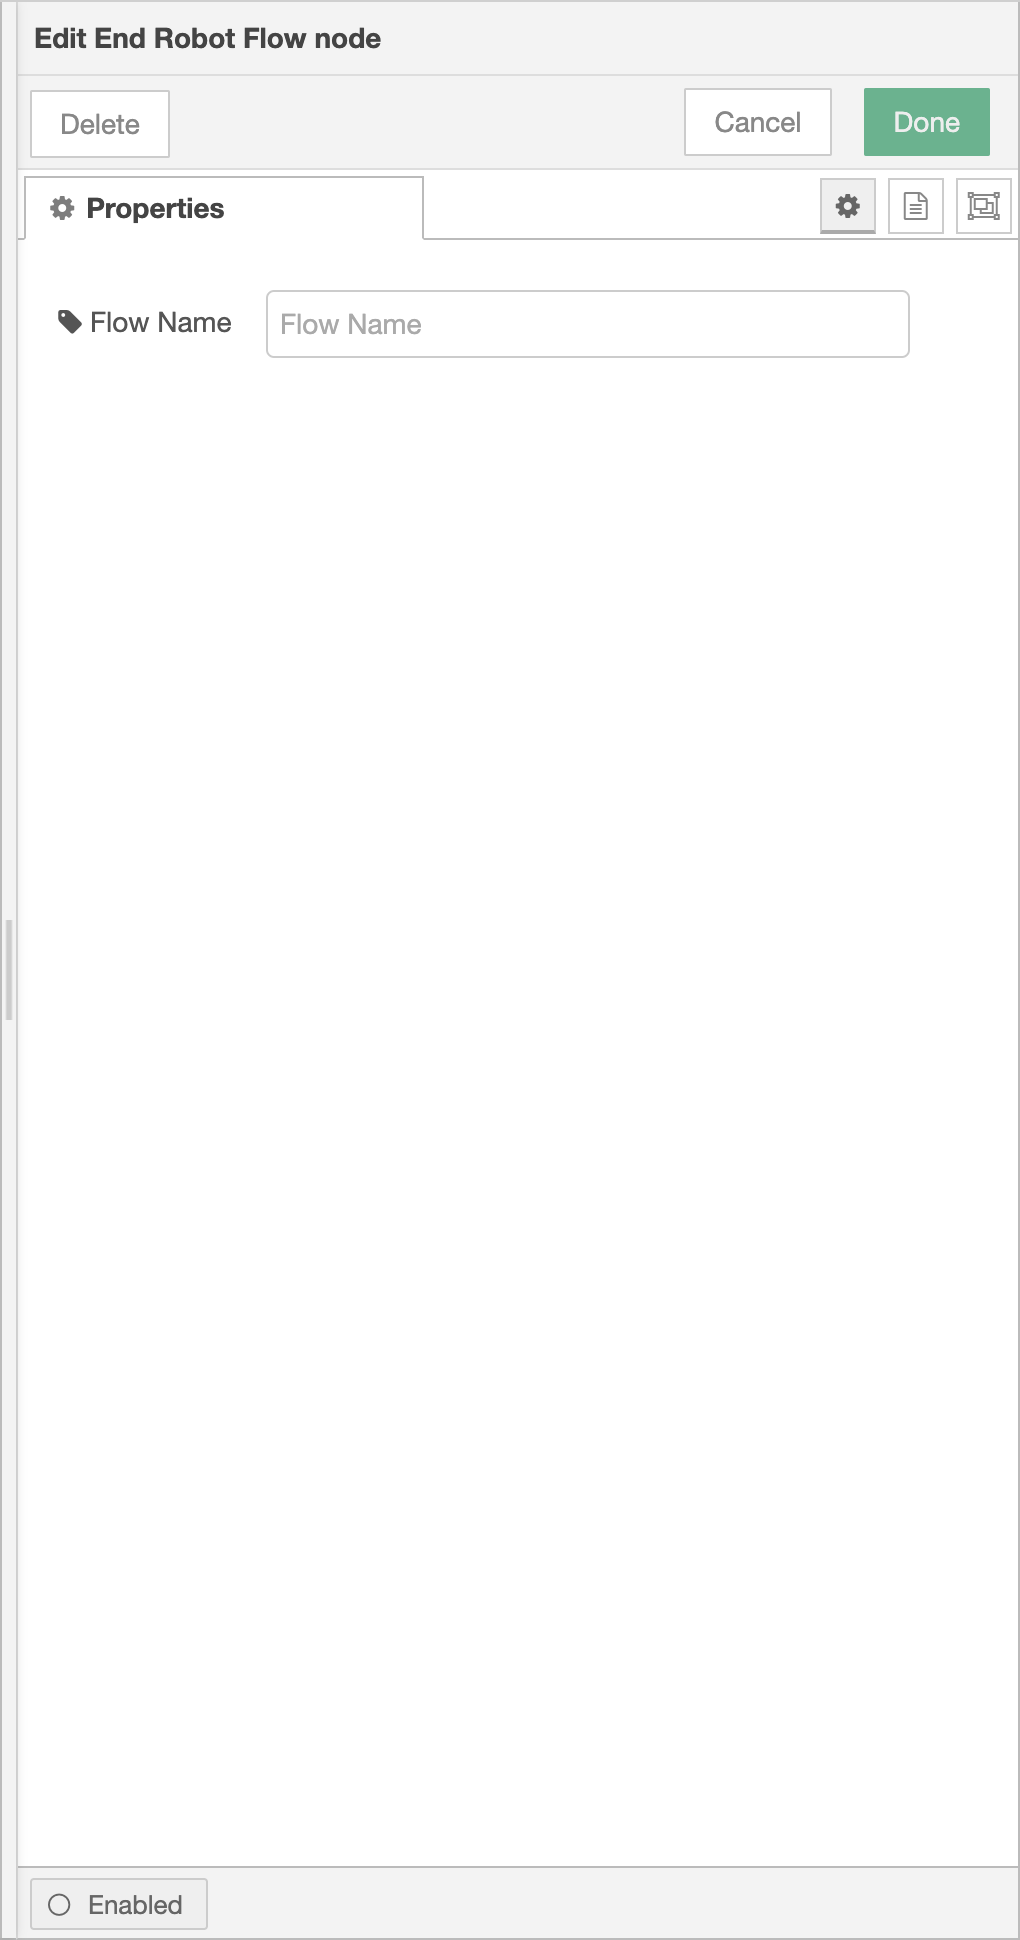
End Robot Flow Node
The End Robot Flow Node must end a robot flow. This will mark that the robot completed a given task and that other tasks can be started now.
Movement Node
The Movement Node executes a sequence of robot positions. One can specify the velocity & acceleration of the movement. A list displays the different robot positions which were defined. The button Activate G-Compensation can be used to activate the gravity compensation mode of the robot. The button Teach-in Joint Angles will add the current angles of the joints as a new robot position to the positions sequence list. The button “Teach-in Cartesian Position will add the current position of the robot end-effectore as a new robot position to the position sequence list. It is better to use the Joint angles to teach the robot, since then the whole robot position is defined clearly. When just teaching in the end-effectore position, different angles can be possible to reach the given end-effectore position.
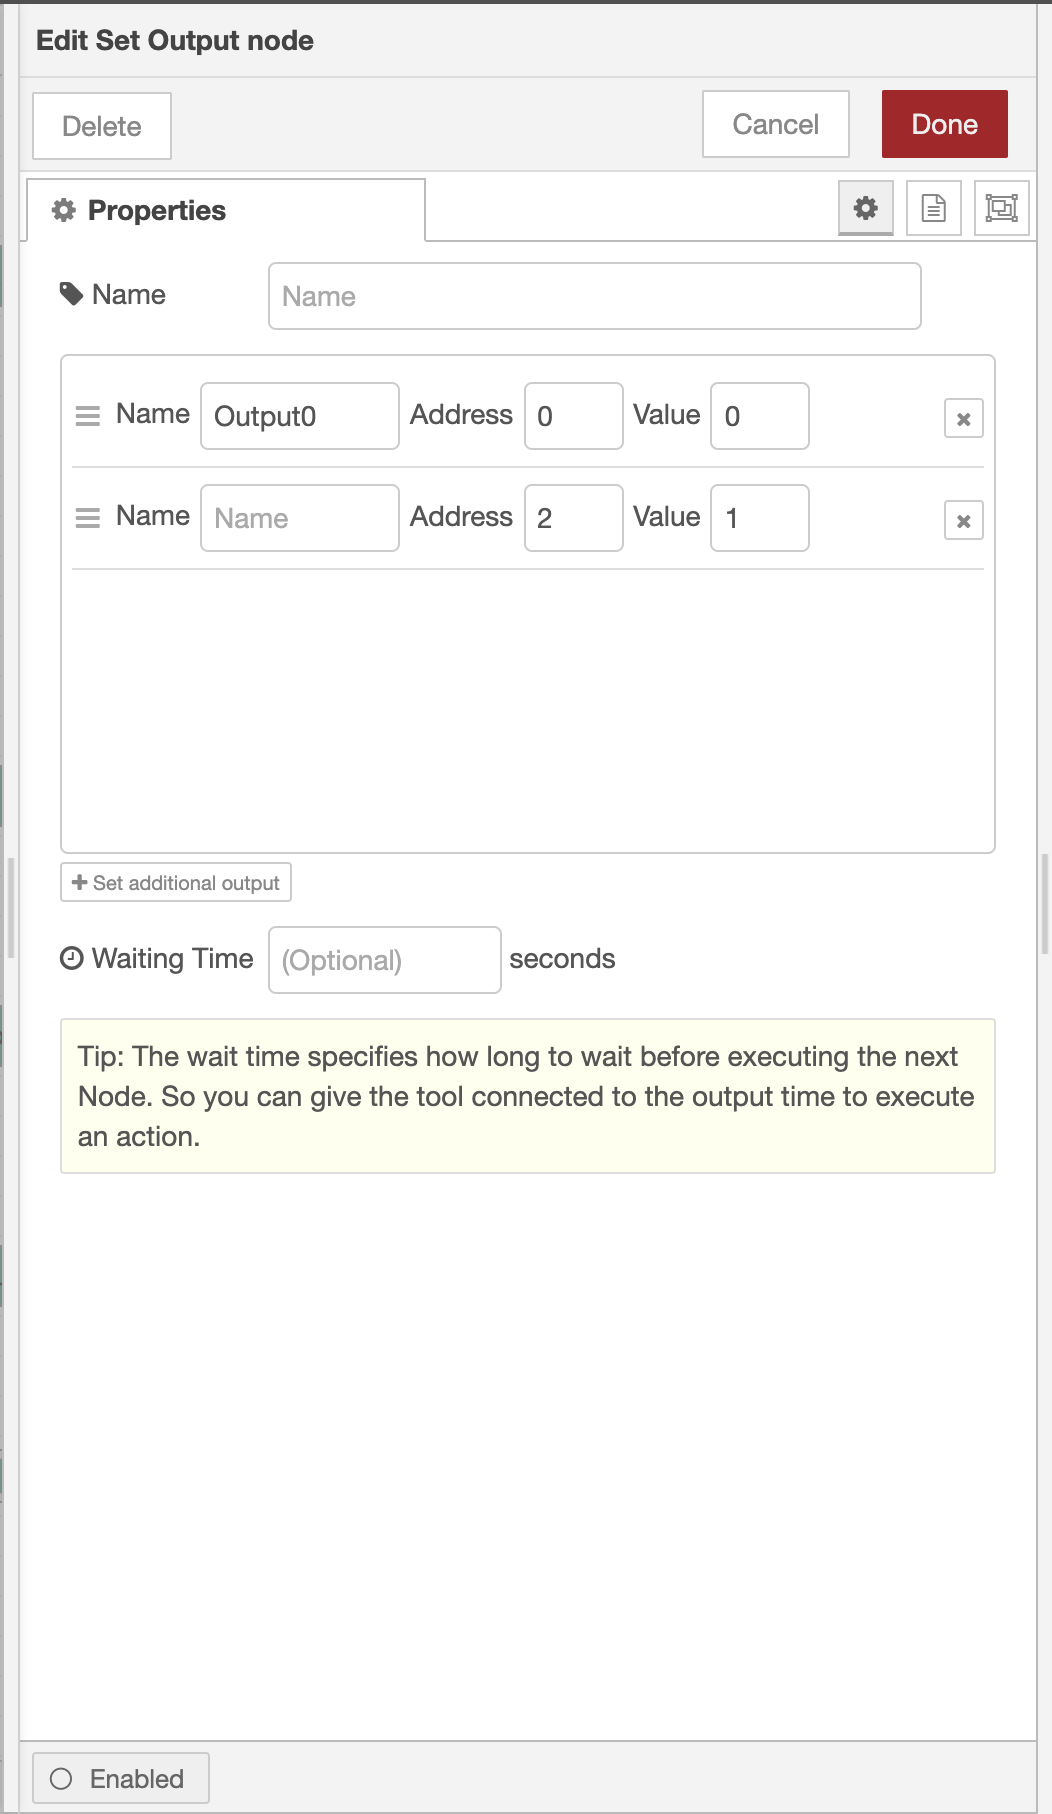
Set Output Node
The Output Node sets several outputs of the robot. If for example a gripper is connected to one of the robot’s outputs, the node can close or open the gripper by setting a specified output address to a specified value. All outputs in the list are set with a delay of 4ms to each other. In addition, the user can specify the duration of the node. This setting is optional. The node will set the outputs and then pause for the specified amount of time to for example give the gripper time to close.
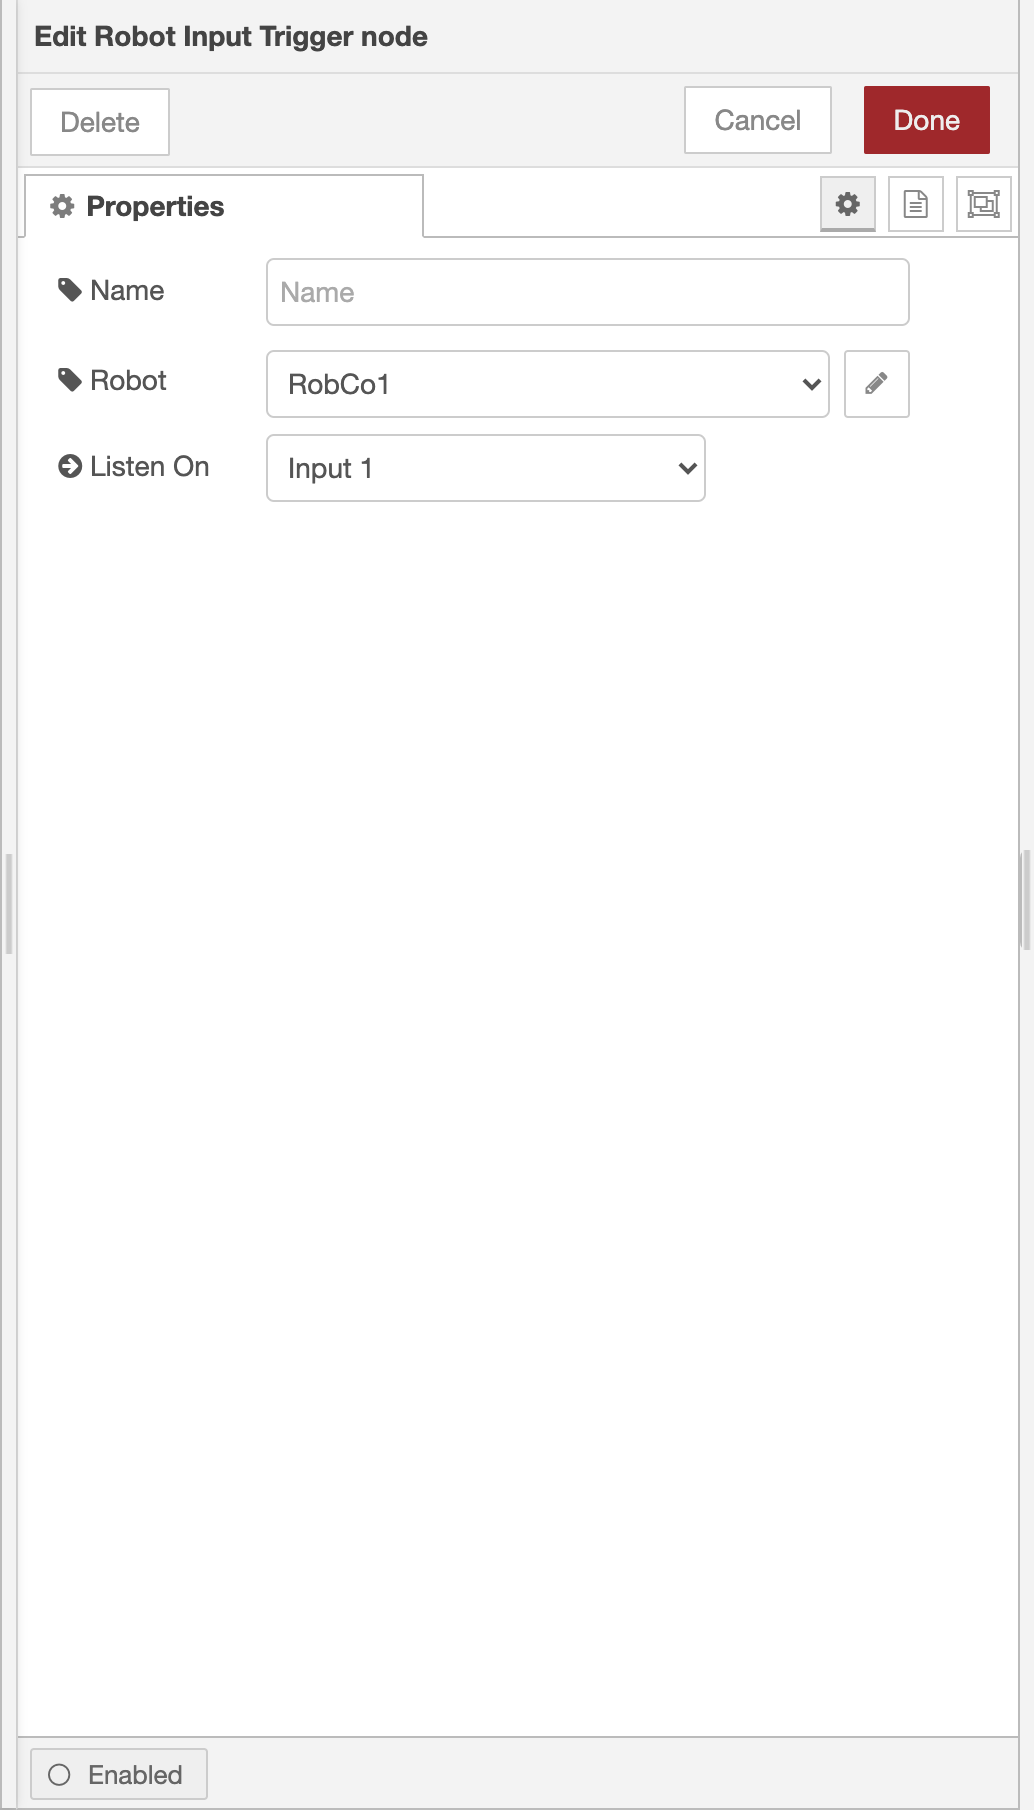
Robot Input Trigger Node
The Robot Input Trigger Node listens to robot input changes. When the specified input of this node changes to the specified value the node will trigger the node it is wired to. To start a robot flow the node needs to be wired to a Start Robot Flow Node.
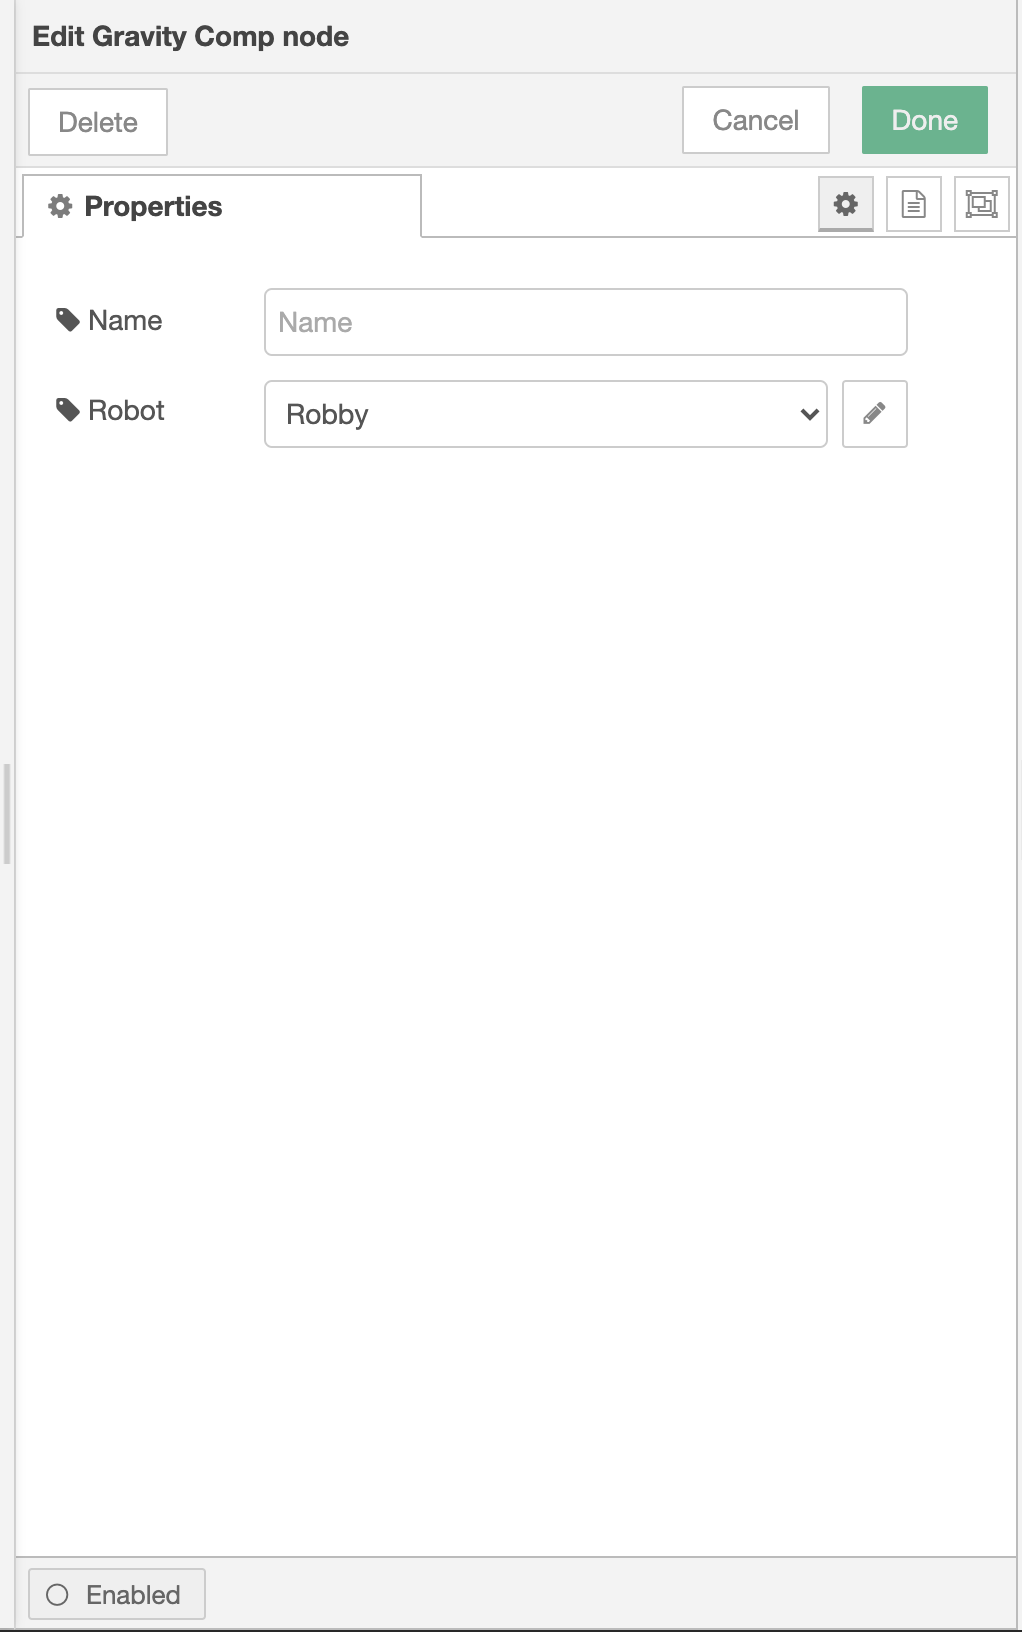
Gravity Comp Node
The Gravity Comp Node can be used to activate the gravity compensation mode of the robot. In the settings one can specify which robot should be switched to gravity compensation mode. The gravity compensation mode can be triggered by pushing the button on the left of the node after the nodes have been saved and deployed.
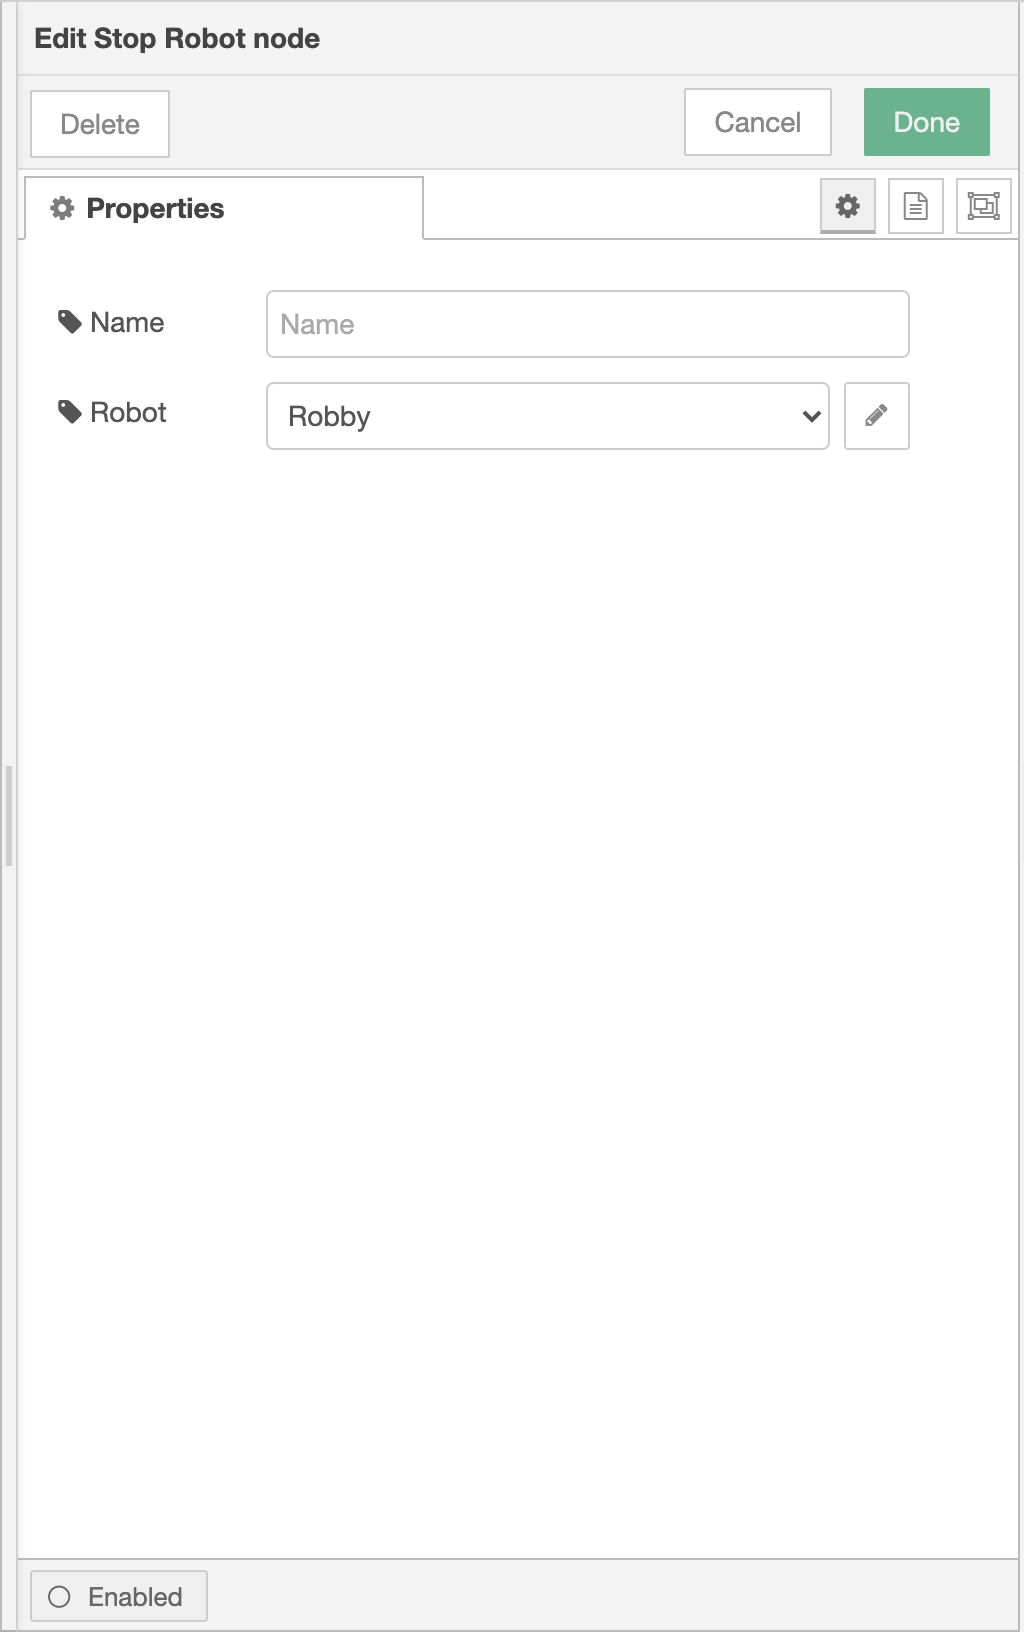
Stop Robot Node
The Stop Robot Node can be used to stop the robot in its execution. In the settings one can specify which robot should be stopped. The stop will be triggered by pushing the button on the left of the node after the nodes has been saved and deployed.
Palletising Node
The Palletising Node can be used (de)palletise a pallet/stack/row of objects.
Warning
Changes in the setting of a node are only enforced after the node was saved and deployed. The button on nodes will still work but will trigger the flow and robot in the current deployed version of the node.